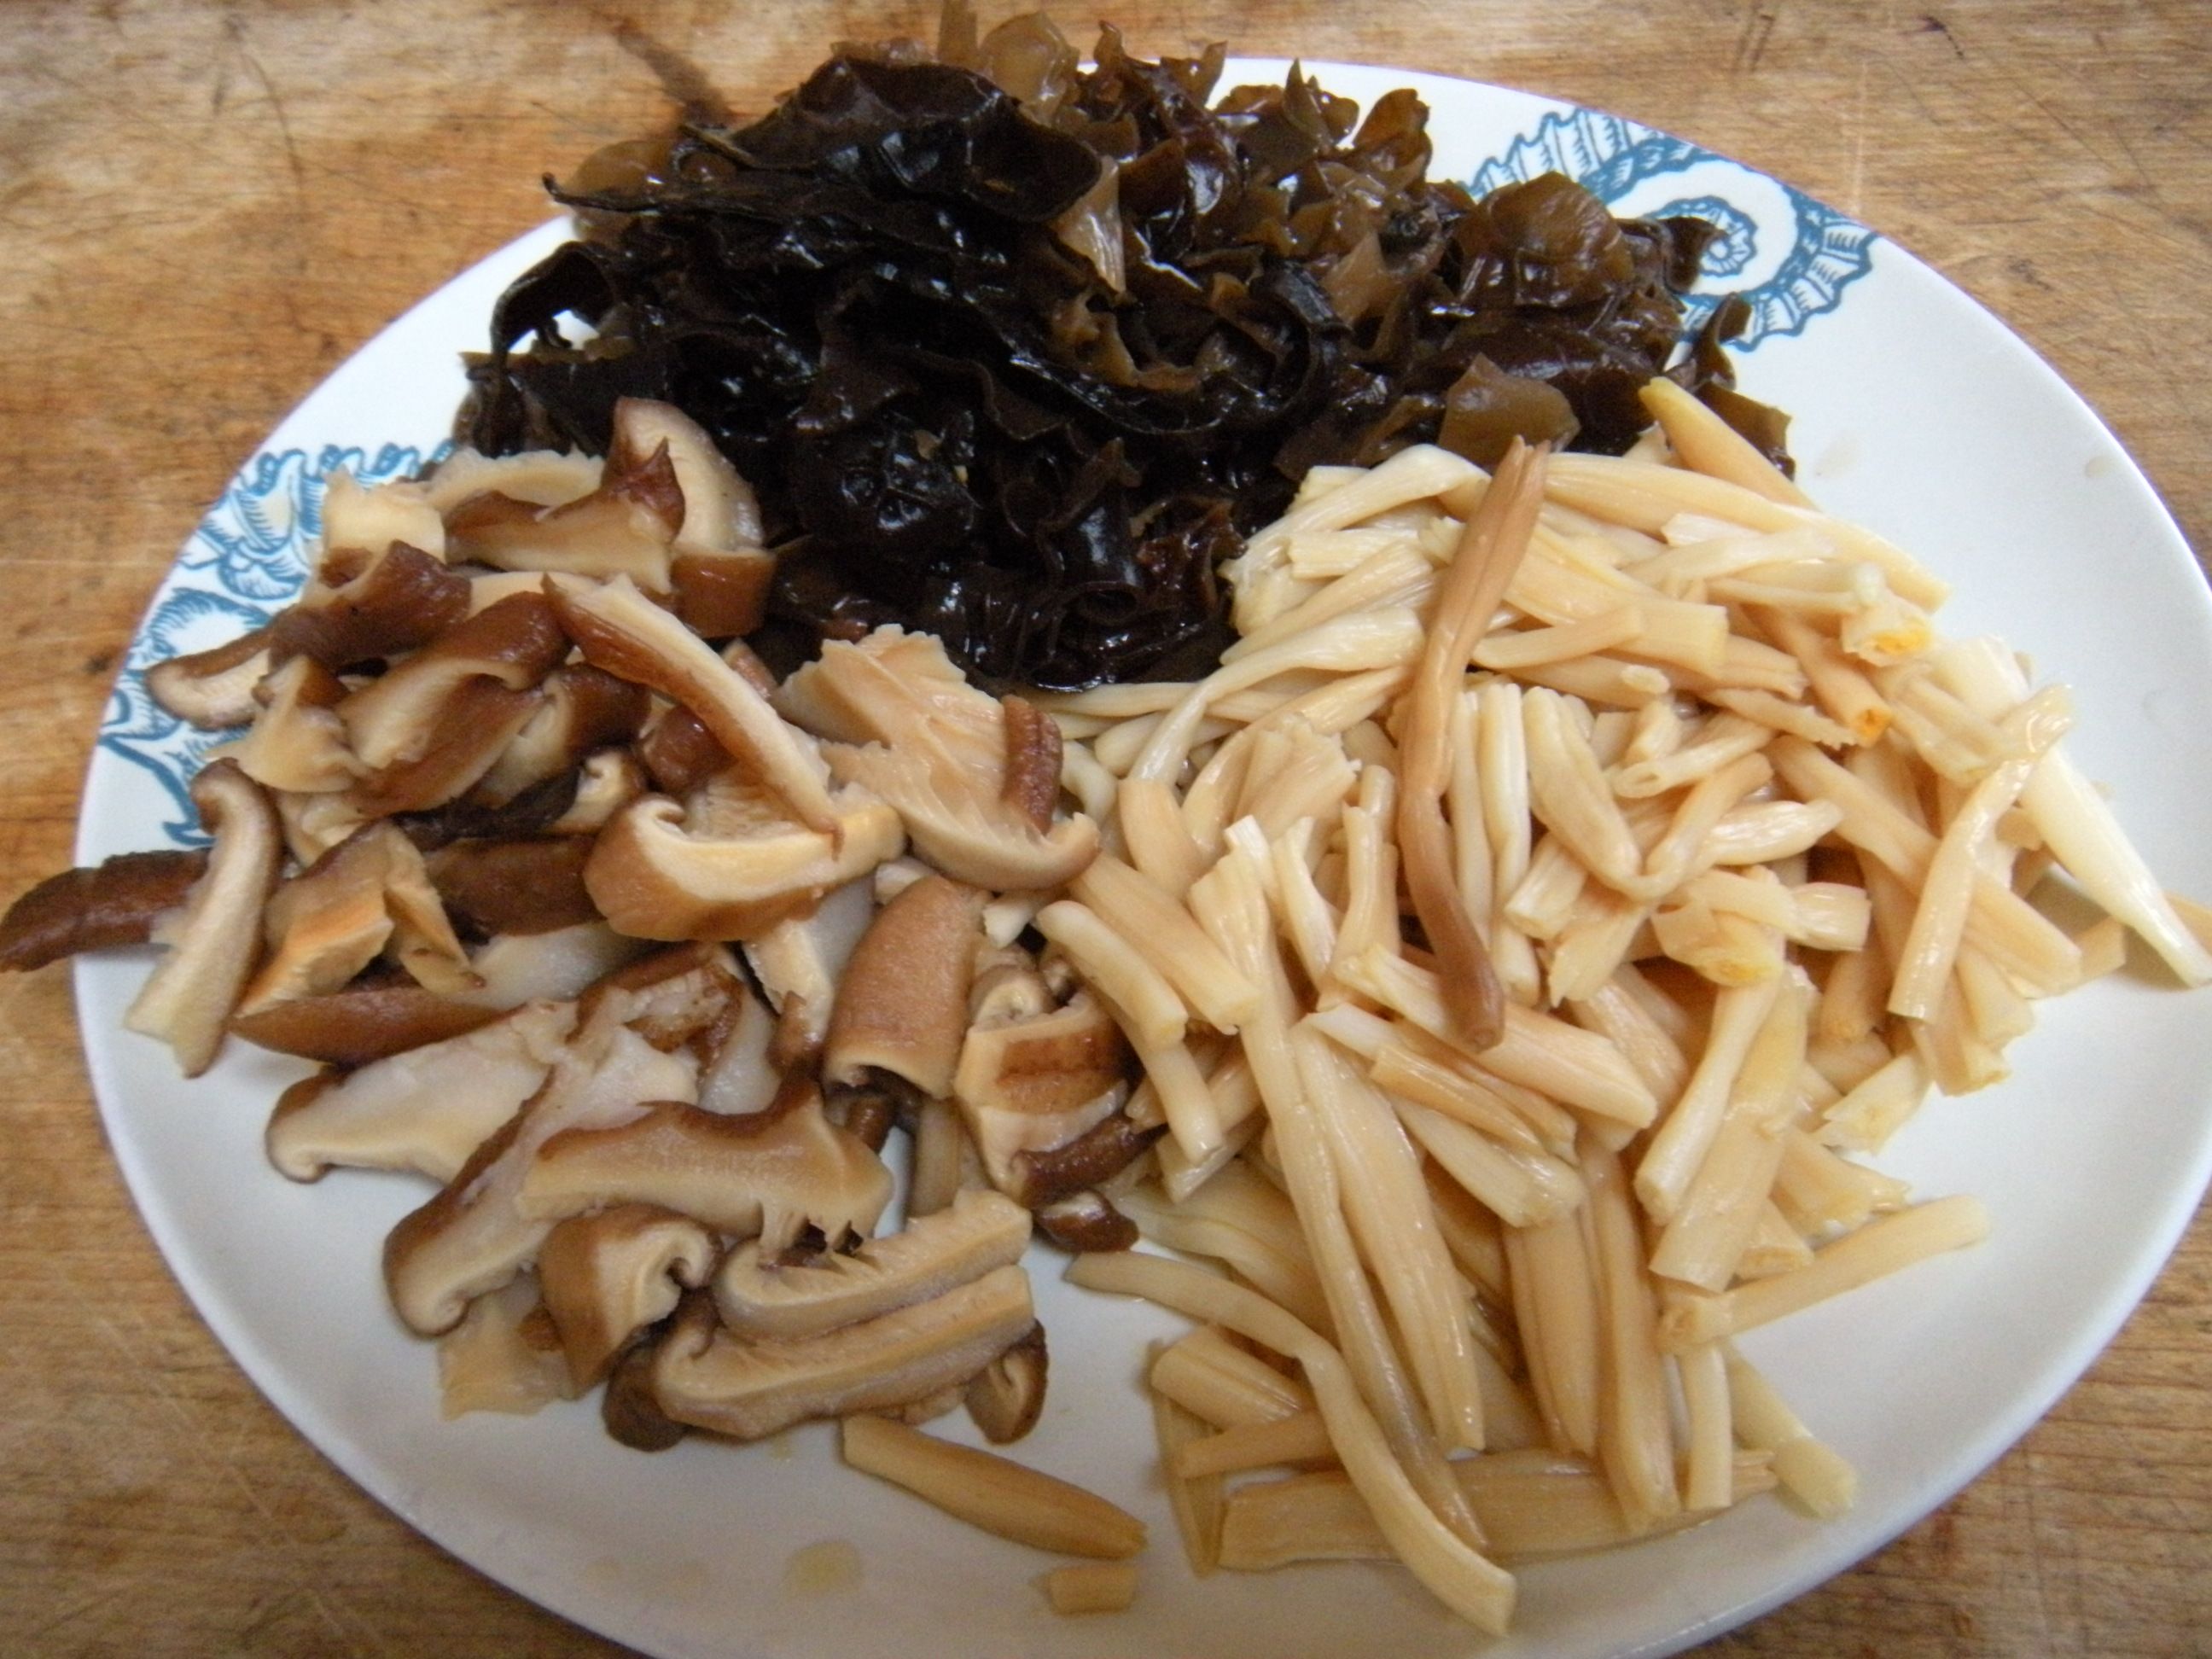
. . . soaking daylily buds, wood ear and shitake mushroom
On Sunday, I spent all afternoon cleaning out the pantry. It was hot and the task was frustrating, having to temporarily lump disparate things in grocery bags in order to make enough space to reorganize things; then looking for where to store leftover hodge-podge goods. For once, I put food basics (rice, flour, salt, sugar) together and most often used equipment (oval gratin and baking equipment) together (DUH!) For someone slightly OCD, you might have expected I would have figured this out long ago! Better now than never.
It was also embarrassing or humorous, however you want to look at it to find out how consistent I am in my preferences; e.g., duplicates or similar ruffled pastry pans, some with removable bottoms; two extra-large cooling racks; twin muffin pans and so on.
When I consolidated the Asian foodstuffs into a white plastic three drawer storage unit on wheels (for only $11.99 at Target) there were numerous packets of dried tiger lily root ( a key component for making buddha’s delight) and wood ear (which gives texture to that same dish.) In fact, I calculated that I must have enough of these two ingredients to make buddha’s delight every week for a very long time.
Actually, that’s not really a bad idea. It was one of my cousin Pei-Fen’s favorite Chinese vegetarian dishes to cook. We shared it one last time together five years ago in her kitchen before she died this Spring. I’ve made it at home since but have as yet to come up with what made hers so definitively Buddha-ish. I think that it’s due to the fineness with which she sliced the cabbage, daylily root, tree ear and soaked mushroom pieces. The ingredients were mere slivers, resulting in a cooked melange of cabbage, aromatic with a little soy sauce and sesame oil added at the end. This dish, to me at least, is all about TEXTURE. The slightly bland flavor of the vegetables is married to their texture. It’s somehow aromatic and chaste at the same time: an ascetic aesthetic!
If you find recipes for Buddha’s Delight online, you’ll see an incredible diversity of ingredients that people use in this dish. My nirvana dish is purist and classic: no meat or shellfish of any kind; no eggs, no carrots, no broccoli florets, no snow peas, no bamboo shoots, no water chestnuts, no bean sprouts, no apple. . . nothing but a head of cabbage (not coleslaw, bok choy or napa) sliced by hand with a handful of the daylily buds, tree ear and shitake mushrooms. Graced with a little seasoning (soy sauce, mirin, oyster sauce and sesame oil) and a bit of water to steam the vegetables to a tender bite if needed. That’s it.
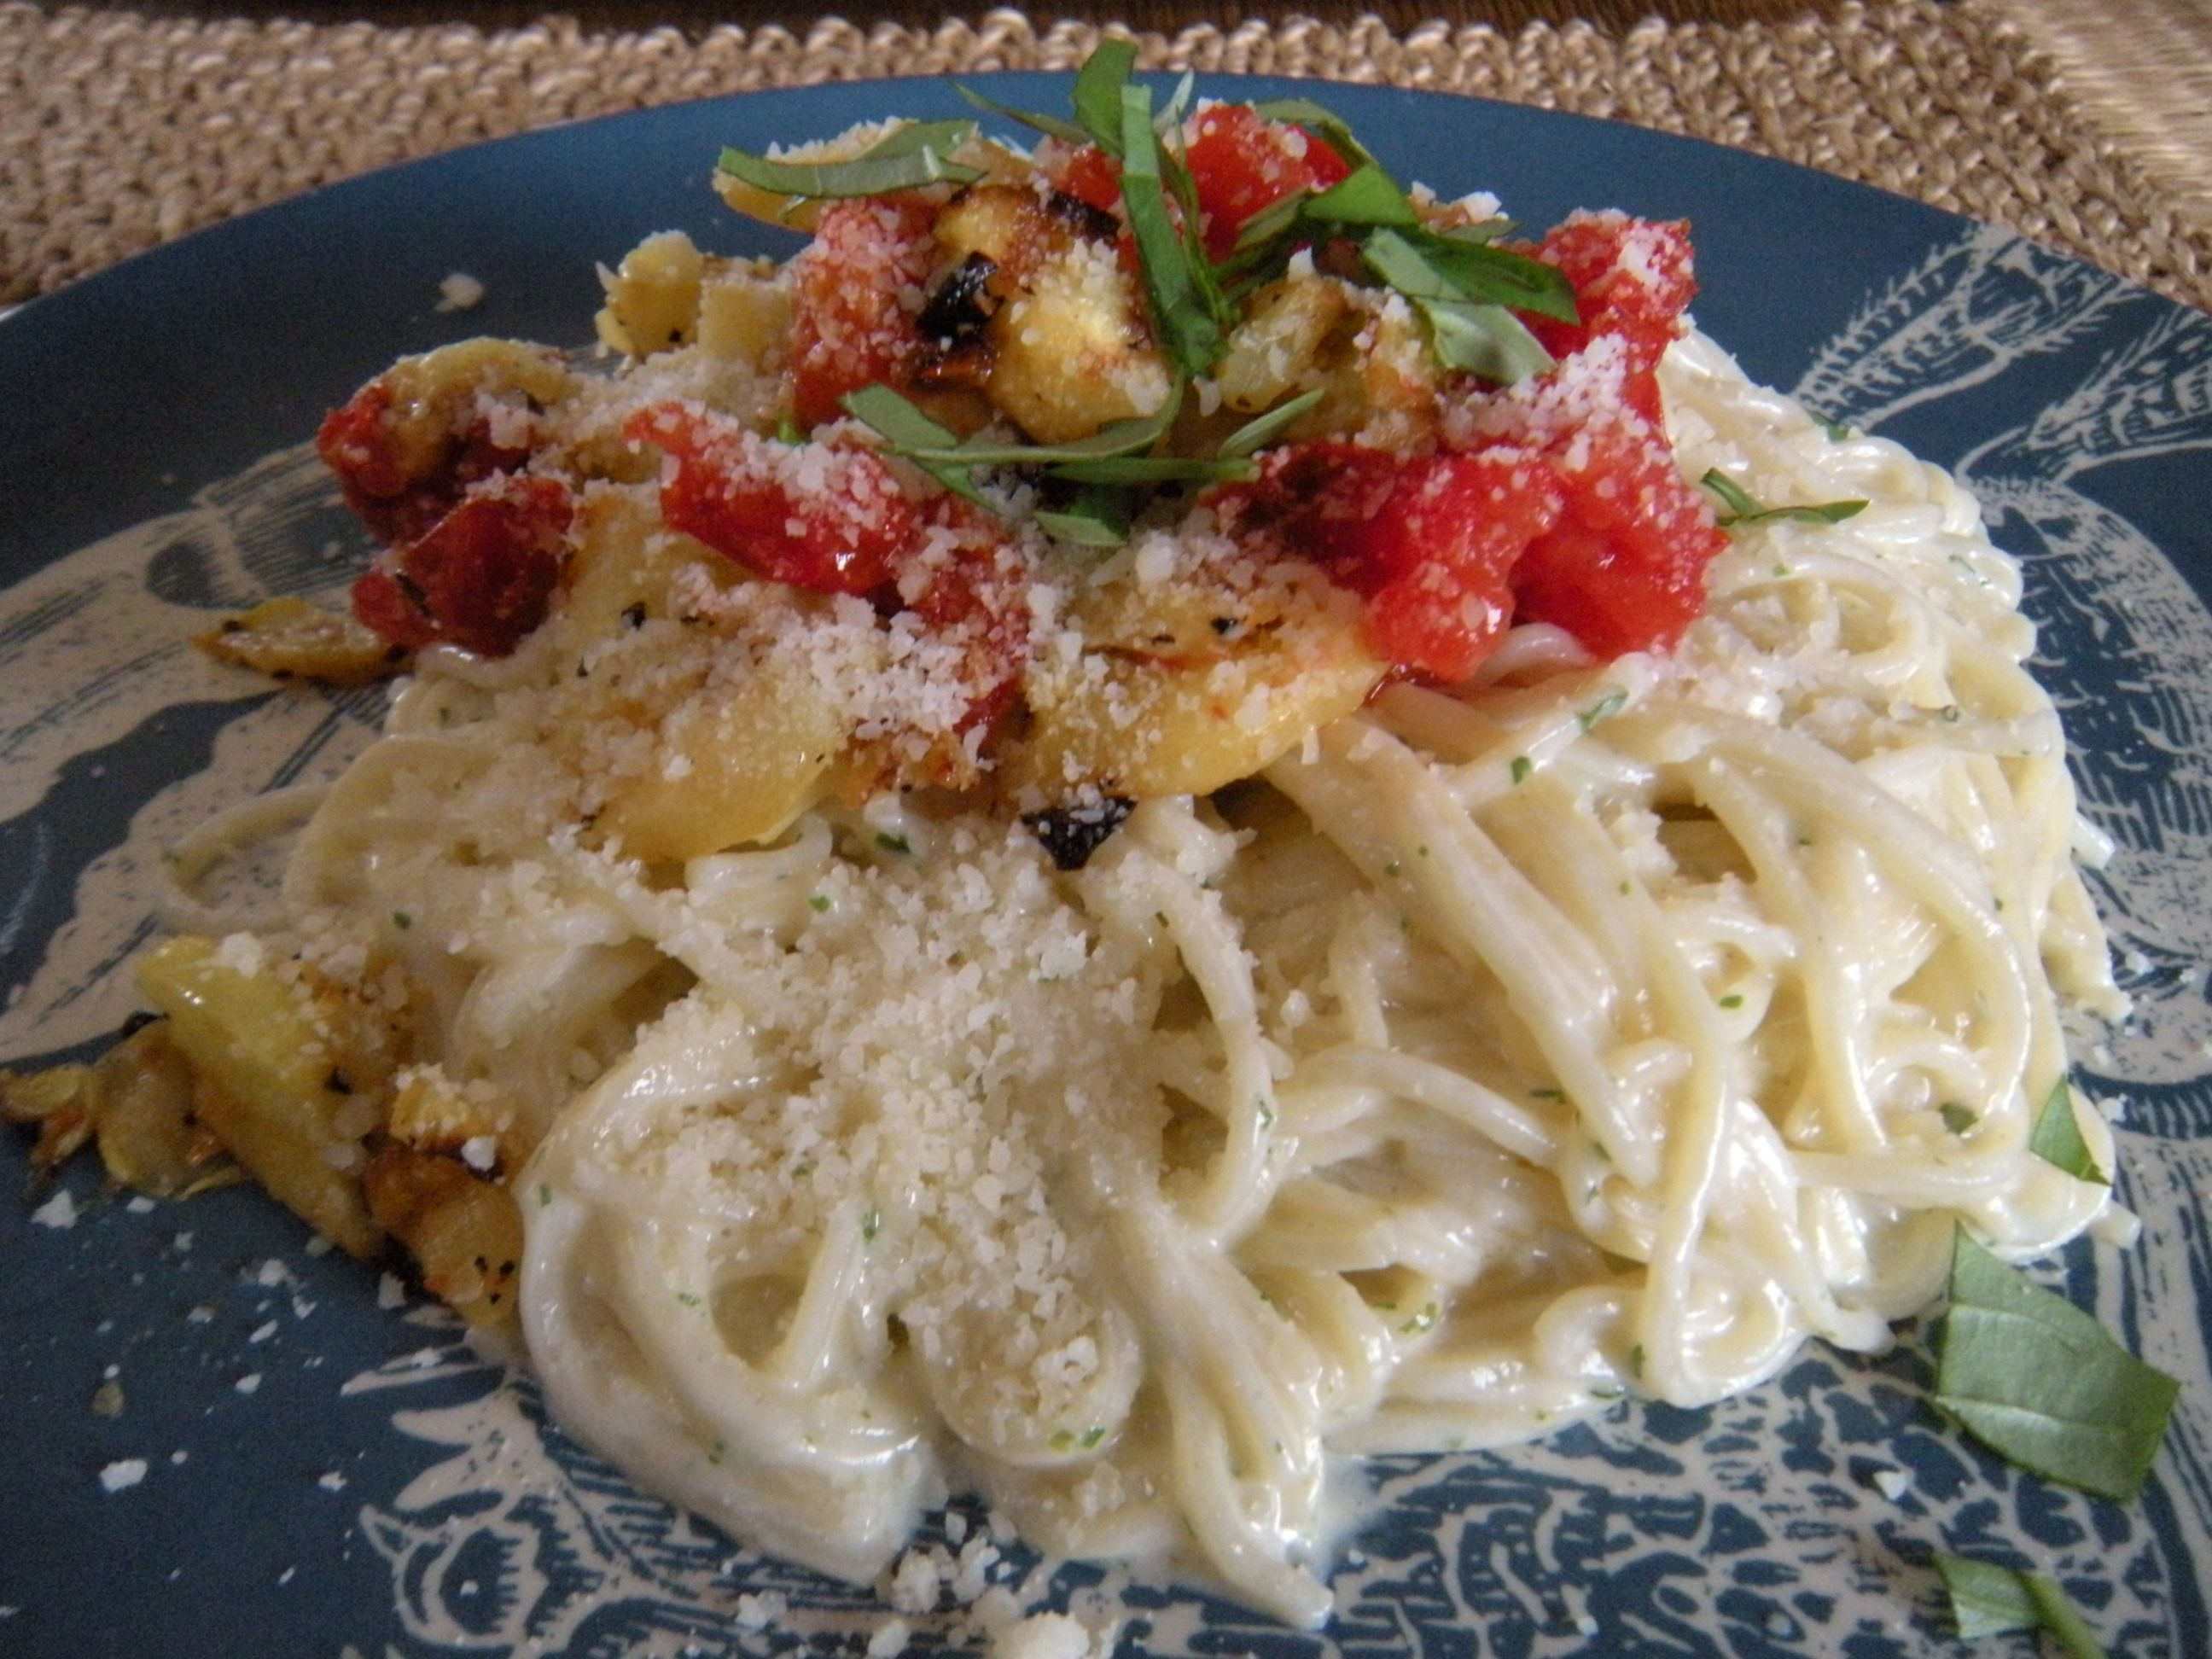
So today, starting little by little to use up this surfeit (glut) of ingredients, I soaked the makings in order to try my hand again at duplicating Pei-Fen’s dish. I had also cooked some brown rice the other day that I’ll use tonight to make something to eat along with the buddha’s delight: fried brown rice with edamame (soybeans), toasted nori (seaweed) and sliced scallions. The Buddha’s Delight dish will be more than enough and should last for a couple of days. Tomorrow, we’ll have it again along with buckwheat soba noodles in ginger broth.
Here are some tips for making my version of buddha’s delight:
BUDDHA’S DELIGHT:
1. Soak a half-handful of dried daylily buds, dried wood er and dried shitake mushrooms (3) in warm water until all are softened (this takes awhile to soak so just start it earlier in the day)
2. Rinse pieces and drain well to rid of any grit.
3. Trim daylilies of hard stem ends and slice into thirds
4. Trim wood ear and slice up, removing any hard or rigid pieces in the center
5. Remove stems from softened shitake mushrooms and slice into small slivers
6. Squeeze and drain all of water.

cleaned, sliced, rinsed
7. Heat a medium size skillet and pour in grapeseed oil to make a thin film
8. When hot, saute three scallions, trimmed, split and sliced into 1 inch pieces.
9. Add the daylily, wood ear and mushrooms; saute over medium high heat and mix together.
10. Add 1 tablespoon organic soy sauce (Ohsawa); 1 tablespoon mirin or cooking sherry, 2 tablespoons oyster sauce, 2 teaspoons of xylitol (sugar substitute) and mix together–the mixture will be aromatic and smell wonderful. This is a brief braising step that helps these ingredients to soak up flavor ahead of adding them to the plain cabbage.
11. Add a scant 1/4 cup of spring water, stir and mix everything together, letting the water steam and soften the mixture. Let sit on very low heat for about 20 minutes until ready to cook the cabbage.

braised daylily, wood ear and shitake mushrooms
Last steps:
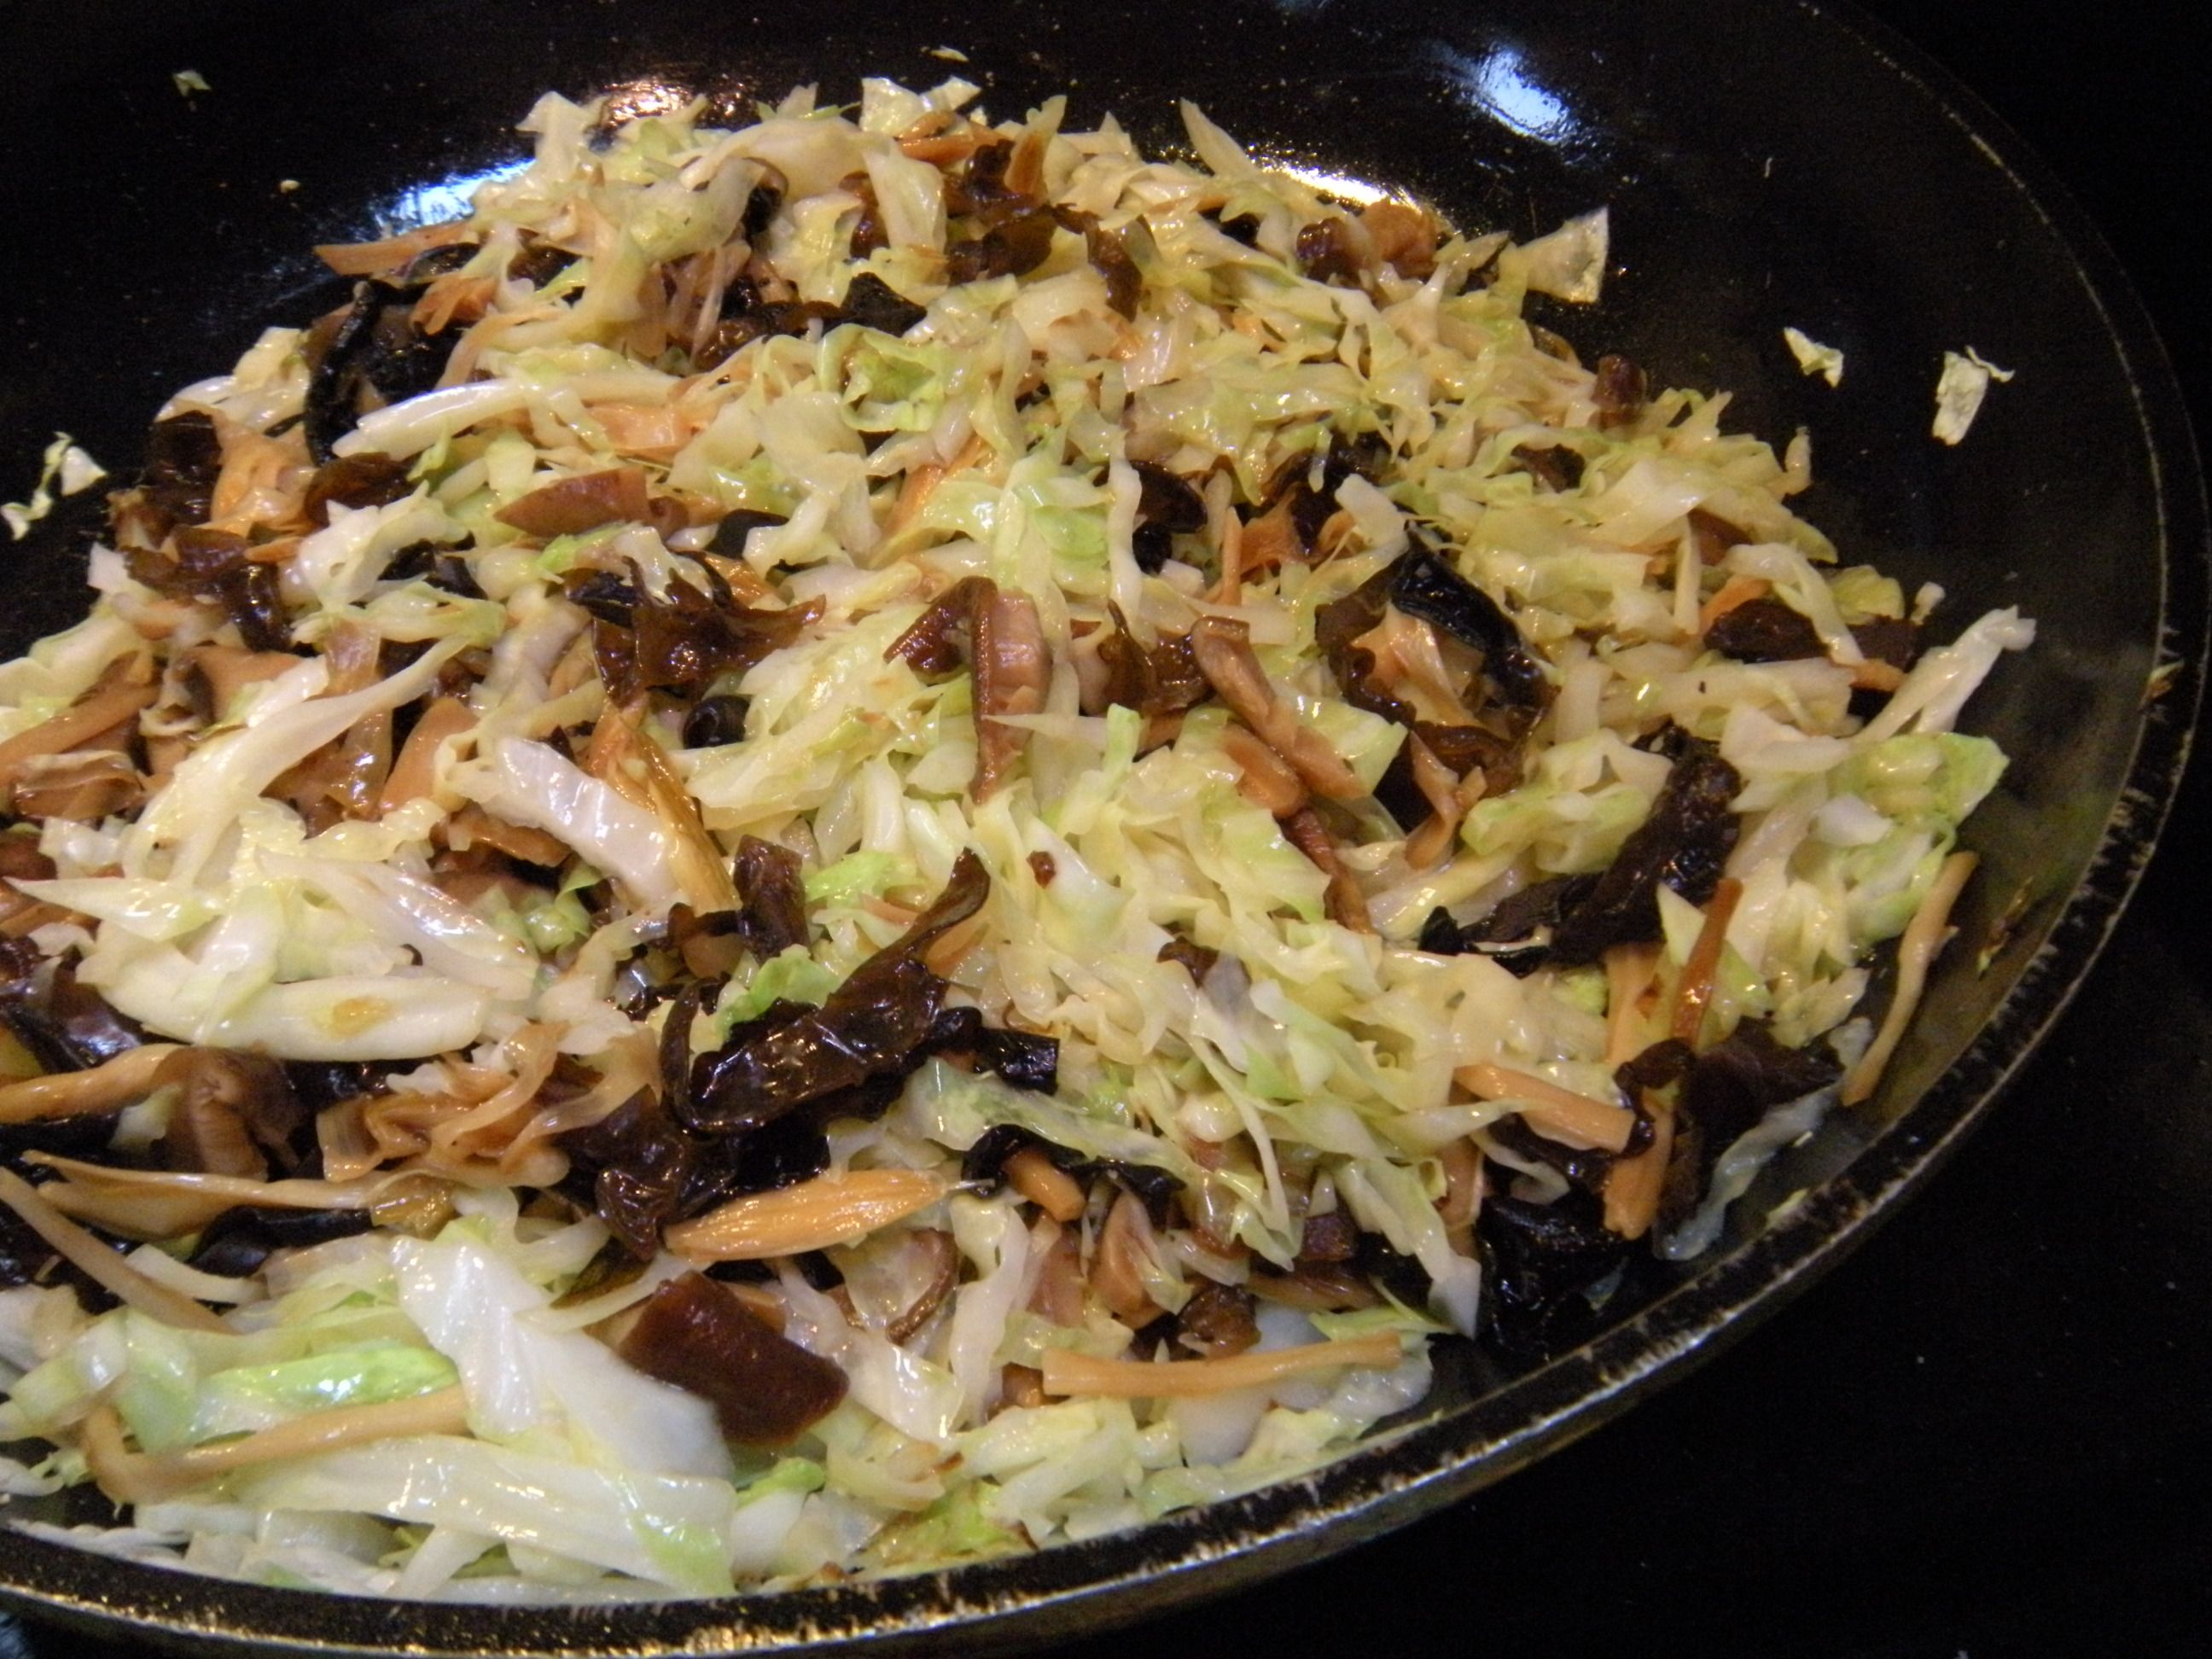
1. Rinse head of cabbage clean. Slice large wedges and then cut each wedge into tiny slivers, using a cleaver or sharp kitchen knife. For the ingredients above, I used a little more than half a head of cabbage

half a thinly sliced head of cabbage
2. Use a large skillet and heat up grapeseed oil to cover the bottom. When hot, put the cabbage slivers in and saute, coating the cabbage and sprinkling with some sea salt
3. Stir the cabbage which will soften with the salt; make sure the cabbage is cooked dry

cabbage cooking in the pan
4. Add the skillet of braised mushroom, daylily and wood ear mixture to the cabbage
5. Stir it all together until well mixed
6. Remove to a serving dish
7. Add a tiny bit of sesame oil on top of the vegetables and stir to mix in the flavors

. . . Buddha’s Delight
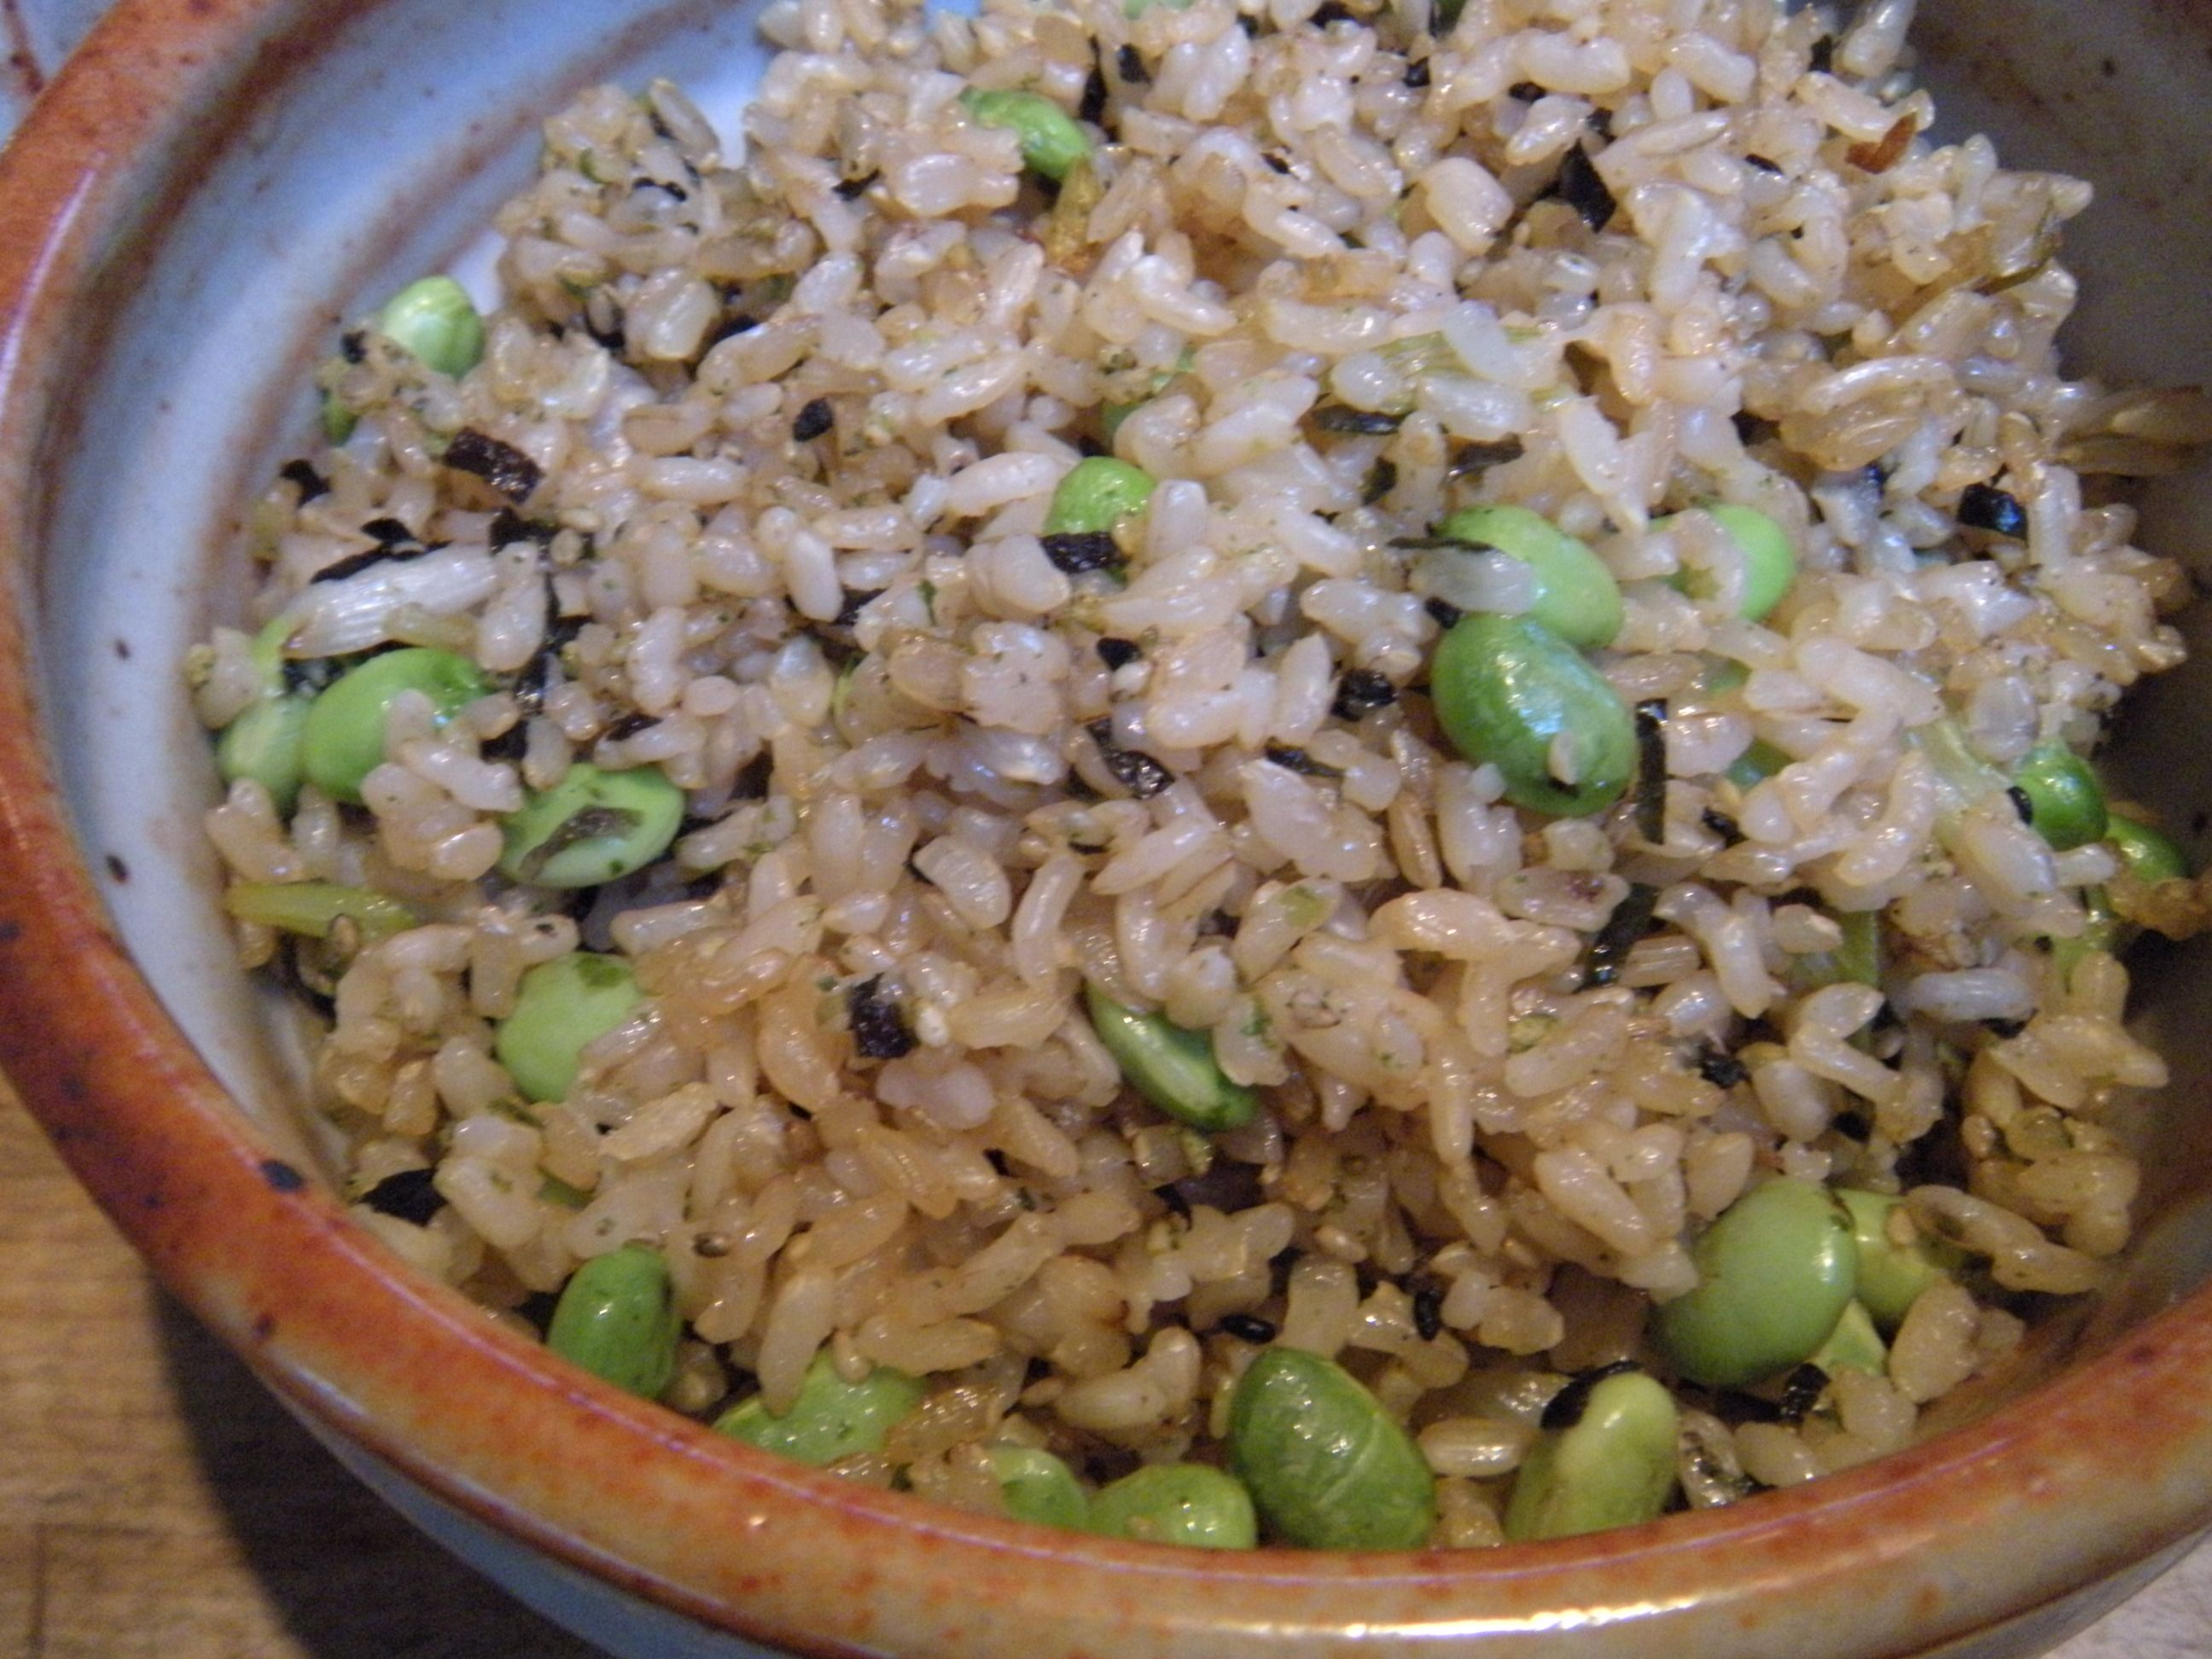
FRIED BROWN RICE WITH NORI, EDAMAME AND SCALLIONS:
1. Defrost half a bag of frozen shelled edamame (soybeans) in warm water and drain well
2. Have on hand a cup of previously cooked brown rice
3. Finely cut up three scallions at sharply angled diagonal slices
4. Heat up a clean skillet with grapeseed oil
5. Saute the green onions in the skillet, add brown rice and stir fry
6. Add edamame to rice mixture
7. Have a little dashi broth & a squirt of organic soy on hand to moisten and add a little flavor to the dish
8. Stir in nori, sesame rice condiment and mix gently.

. . . brown rice with edamame and nori
Note: To enlarge photos, click once; to magnify, click twice on the image.
Postscript: We finished all but a small dab of rice and there’s half a handful of Buddha’s Delight left over. Maybe I’ll make it again next Tuesday.